Guide
Camera Angles for Portraits: Which One and When
Eye level, low angle, high angle, and distance: how each camera angle changes a portrait, and how to match the angle to the pose. With photo examples.
The same pose can look powerful, flattering, or plain wrong depending on where the camera sits. Angle is the half of a photo the person holding the phone controls, and it comes down to four decisions: height, distance, orientation, and matching the angle to the pose.
Eye level: the default for connection
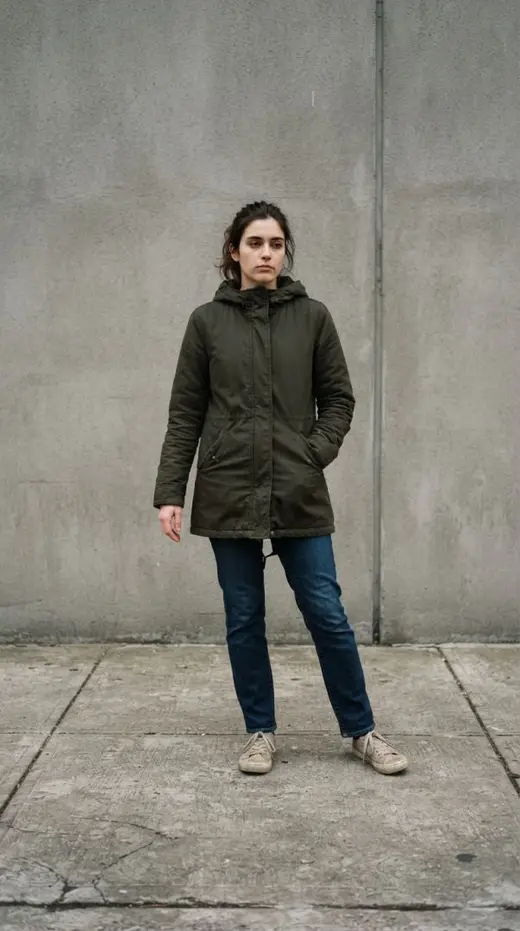
Shooting from the subject's eye level is neutral and honest: no distortion, no power dynamic. It is the right default for portraits where the face is the point. The catch: "eye level" means the subject's eyes, not yours. If your subject is seated, crouch. Most bad photos of seated people are just a standing photographer shooting down without deciding to.
Low angle: length and presence
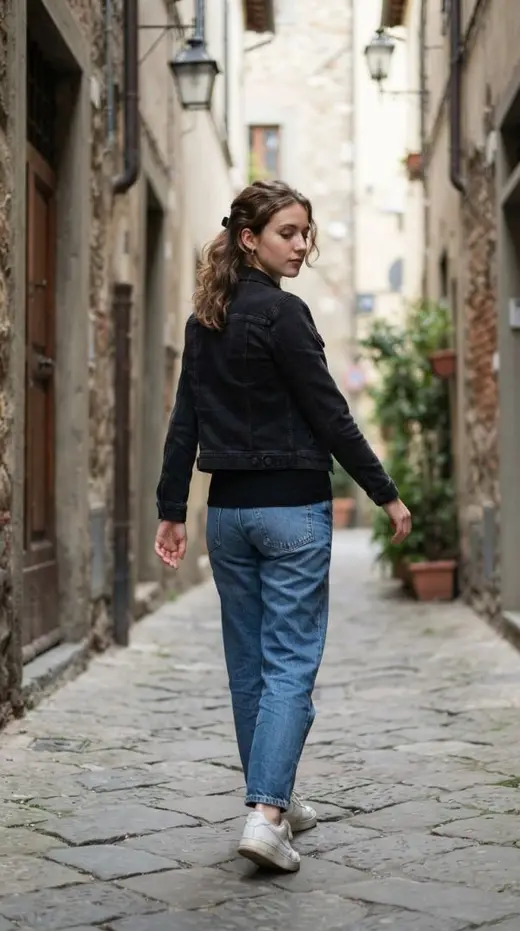
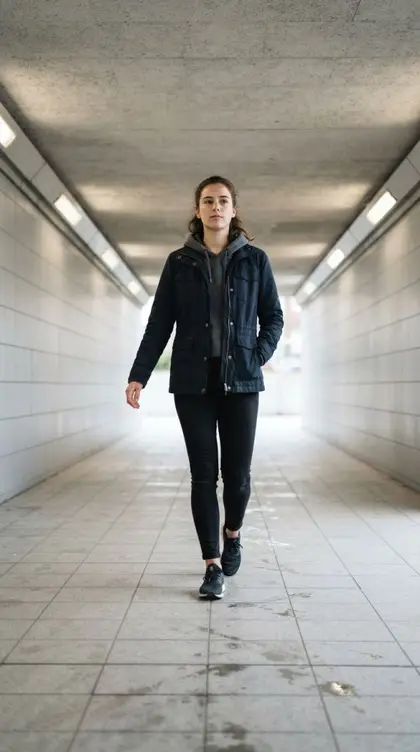
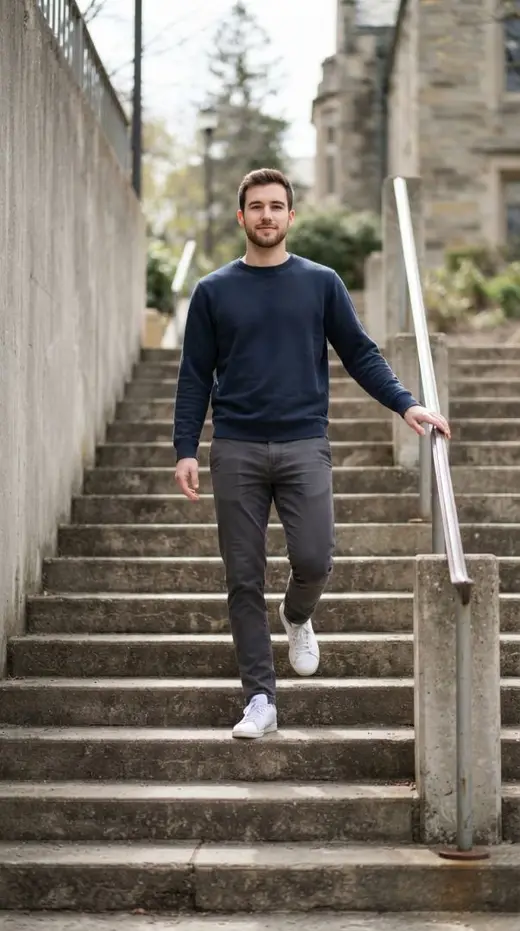
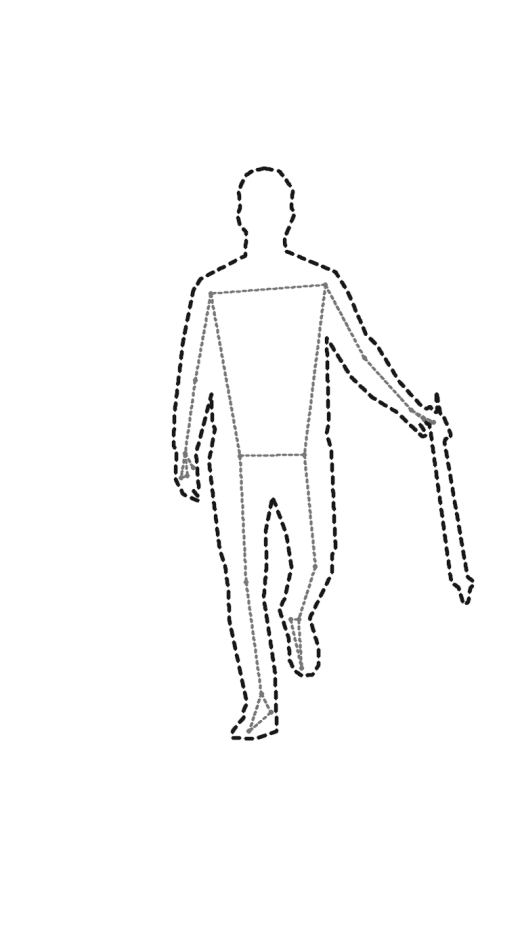
Dropping the camera below chest height and angling up makes legs longer and the whole figure taller and more deliberate. It is the fashion-photo angle. It pairs best with strong, structured poses (stairs, lean-backs, walks toward camera) and full-body framing. Keep the face in the upper half of the frame so the perspective stretches the legs, not the chin.
High angle: softness and face emphasis
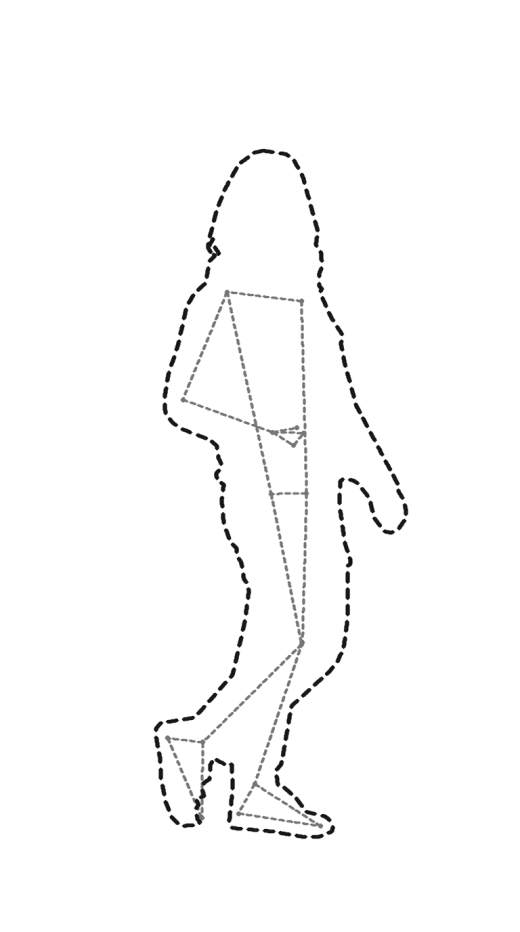
Shooting from above the subject's eye line shrinks the body and enlarges the eyes and face. Used gently, ten or twenty degrees rather than straight down, it flatters close-up portraits and seated poses. Used carelessly on a full-body shot it compresses the figure, which is why the standing-photographer-seated-subject photo so often disappoints: it is an unintentional high angle on a pose that wanted eye level.
Distance matters more than zoom
Phone lenses are wide. At arm's length a wide lens distorts: whatever is closest to it (usually the nose or forehead) grows. The fix is physical: step back and zoom in, or use the 2x–3x lens if the phone has one. The extra distance compresses features and is more flattering for nearly every face. Reserve the wide, close look for when exaggeration is the point.
Vertical framing for full-body poses
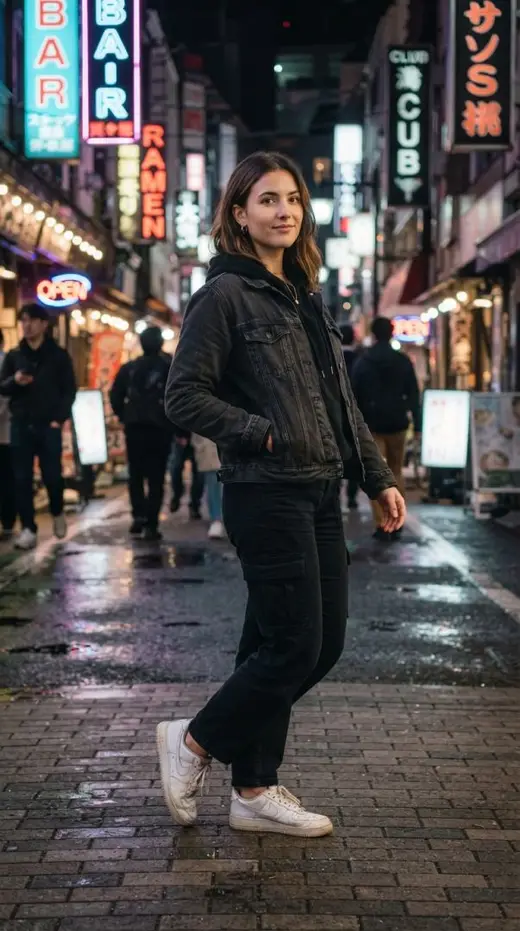
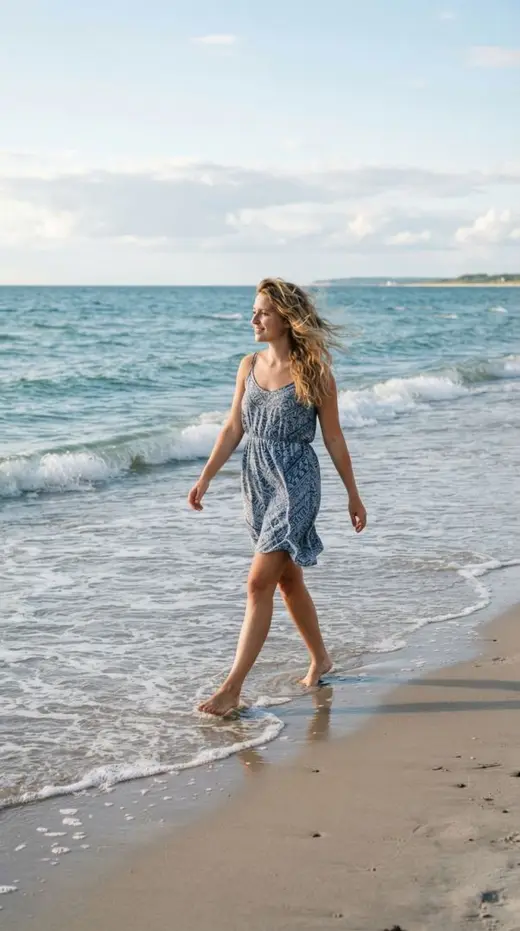
Full-body poses want vertical orientation and two habits: leave a little headroom, and never crop at a joint (cut mid-shin or mid-thigh, not at the ankle or knee). Placing the feet near the bottom edge of a vertical frame with a slightly low camera is the simplest reliable recipe for a full-length shot.
Match the angle to the pose
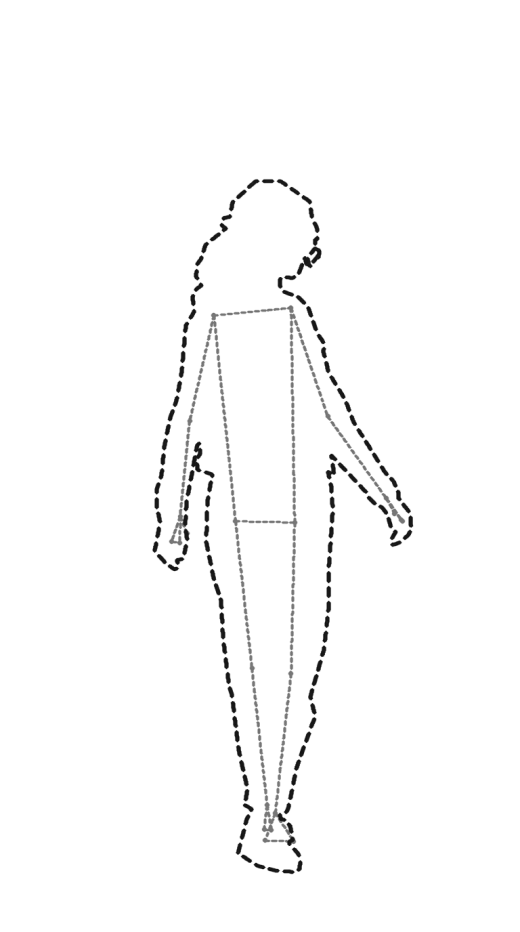
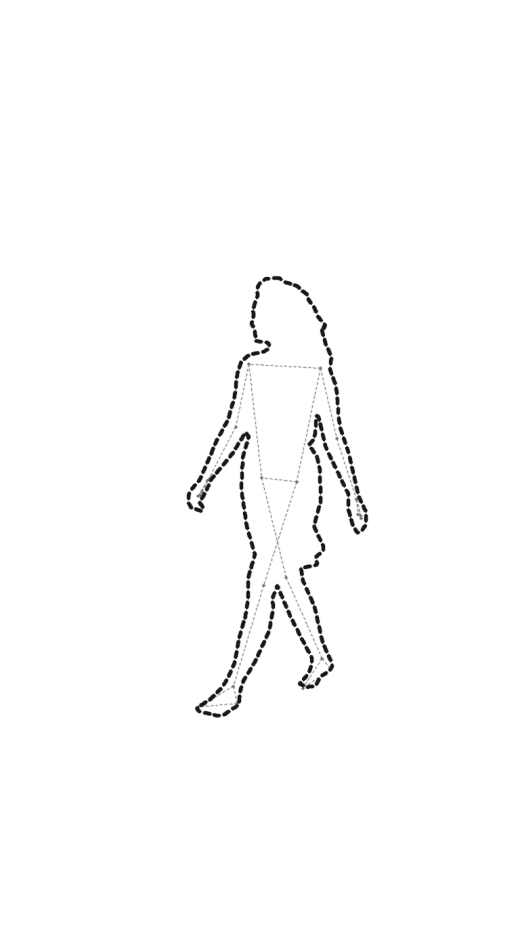
Angle and pose are one decision, not two. A back glance wants the camera behind and at shoulder height; a jump wants a low, wide vertical frame so the ground shows how much air there is; a cafe scene wants seated-eye-level from across the table. When a photo feels off but the pose was good, the mismatch is usually here.