Guide
Negative Space and Framing in Photography
The composition tools after the rule of thirds: negative space, natural frames like doorways and tunnels, depth layers, and cleaner crops.
Once the rule of thirds is habit, the next two composition tools are negative space and framing. One is about what you leave empty, the other about what you put around the subject. Both cost nothing and both are why some phone photos look designed while others look accidental.
Negative space: the empty part is doing work
Negative space is every part of the frame that is not your subject: blank wall, open sky, still water, empty pavement. Beginners treat it as waste and zoom in to fill the frame. In practice the opposite happens: a small subject surrounded by calm, empty space pulls the eye harder, because there is nowhere else for the eye to go. If a photo feels cluttered, the fix is usually more emptiness, not more subject.
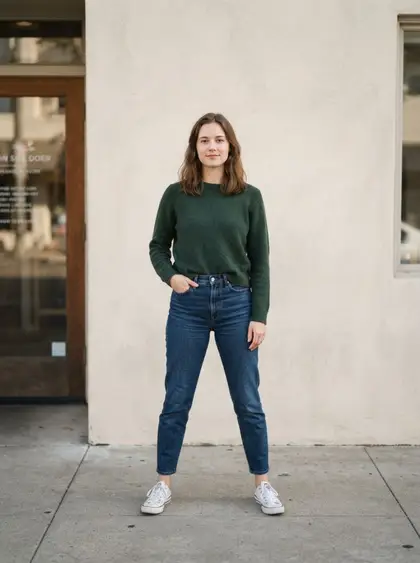
Two habits make negative space work. First, keep it genuinely quiet: a wall with one bright poster is not negative space, it is a second subject. Second, commit. A subject filling a third of the frame looks intentional; a subject filling 80 percent with a thin awkward margin looks like a crop mistake.
Give the gaze somewhere to go
Negative space has a direction. Place the empty area on the side your subject faces or moves toward. A person looking left with space on the left reads as calm and open; the same person pressed against the left edge, staring into it, feels boxed in. This is the same logic as the rule of thirds, extended: the lines tell you where to put the subject, the gaze tells you which side gets the room.
Natural frames: doorways, arches, tunnels, branches
Framing means putting something around your subject inside the photo: a doorway, an arch, a window, a tunnel mouth, overhanging branches. A frame does three jobs at once. It points the eye at the subject, it hides messy surroundings, and it adds depth, because the frame sits closer to the camera than the person does.
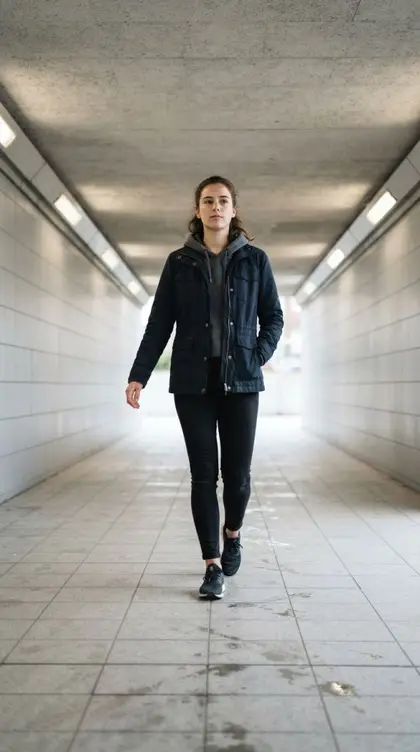
The technique: find the frame first, then walk your subject into it. Center the subject inside the frame even if the frame itself sits off-center in the photo. And step back far enough that the frame has edges; a doorway you are standing inside is not visible as a doorway.
Depth layers: foreground, subject, background
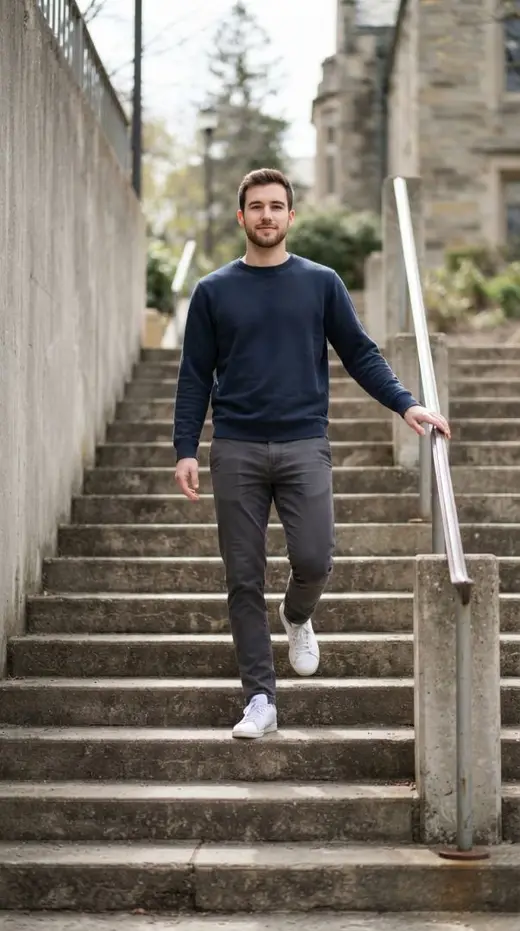
Flat photos have one layer. Add a foreground element at the edge of the frame, a railing, a shoulder of leaves, the corner of a table, and the photo gains depth immediately, especially with portrait mode blurring that near layer. The recipe is simple: subject on a third, something close to the lens on the opposite edge, background calm behind both.
When to fill the frame instead
Negative space is the default for mood and cleanliness, but detail shots want the opposite. Texture, expressions, hands holding something: move in until the subject touches the edges and crop out all context. The skill is choosing one approach per photo. Half empty and half full reads as indecision, and the camera records indecision faithfully.