Guide
How to Shoot a 45-Degree Angle Perfectly
The 45-degree angle shows up three ways: the three-quarter body turn, 45-degree light, and 45-degree camera height. How to nail each one, with diagrams.
"Shoot at 45 degrees" is the most repeated advice in photography, and the least explained, because it means three different things: turning the body 45 degrees to the camera, placing the light 45 degrees off axis, and holding the camera at a 45-degree height. Each one is easy to nail once you know what "45" is measuring.
1. The body at 45: the three-quarter turn
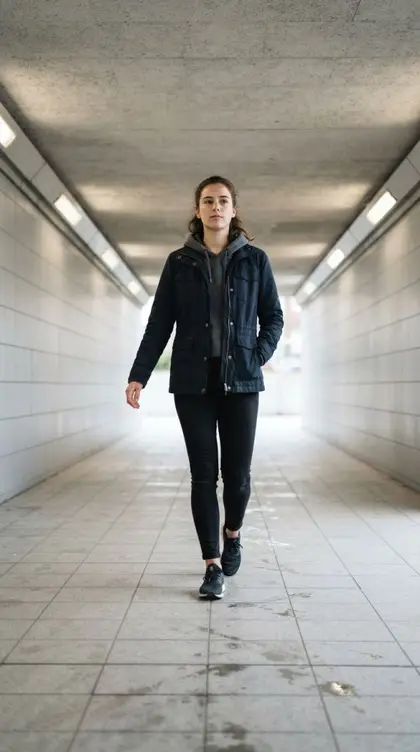
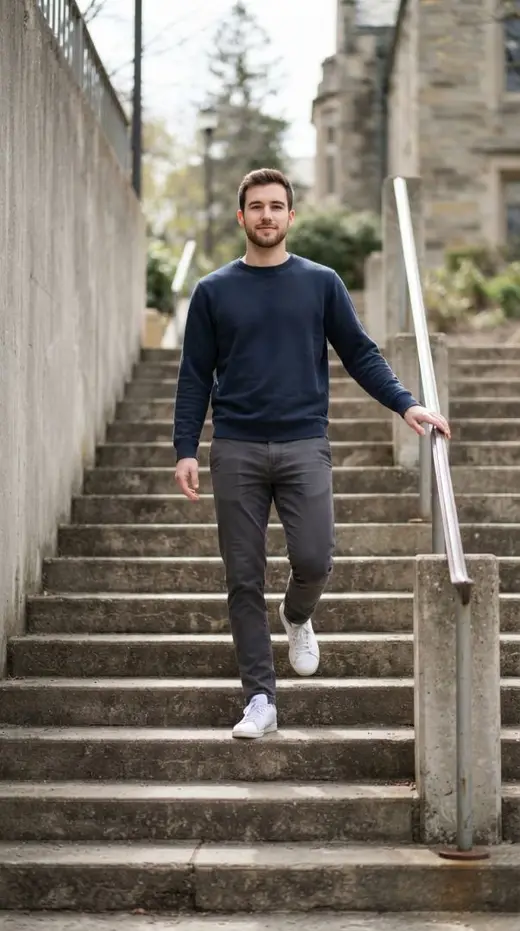
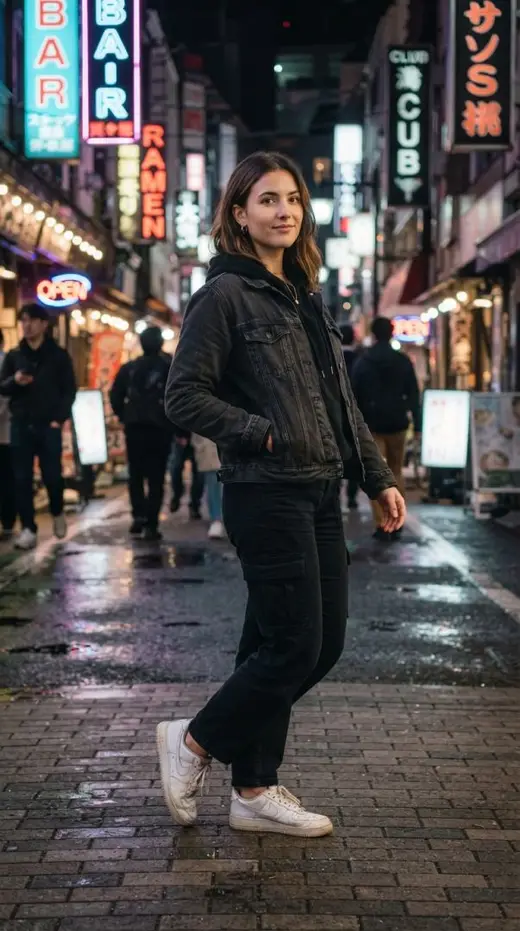
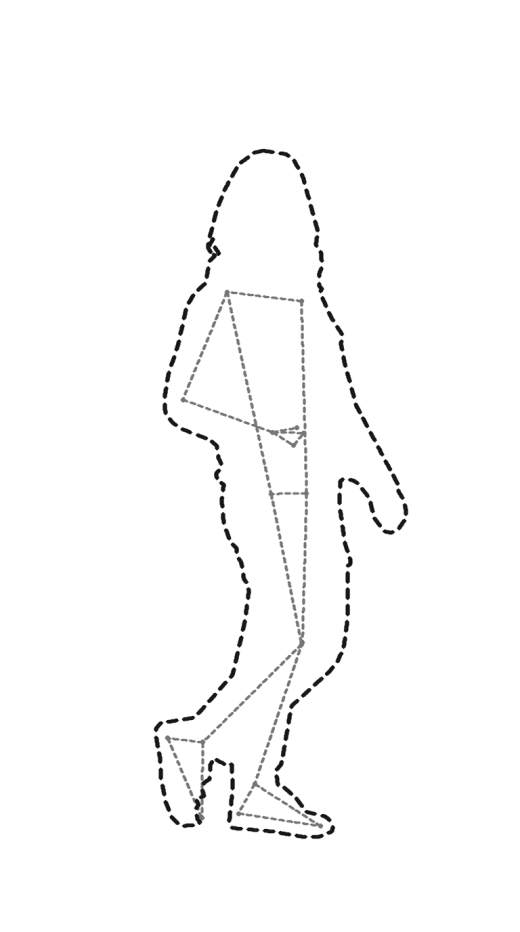
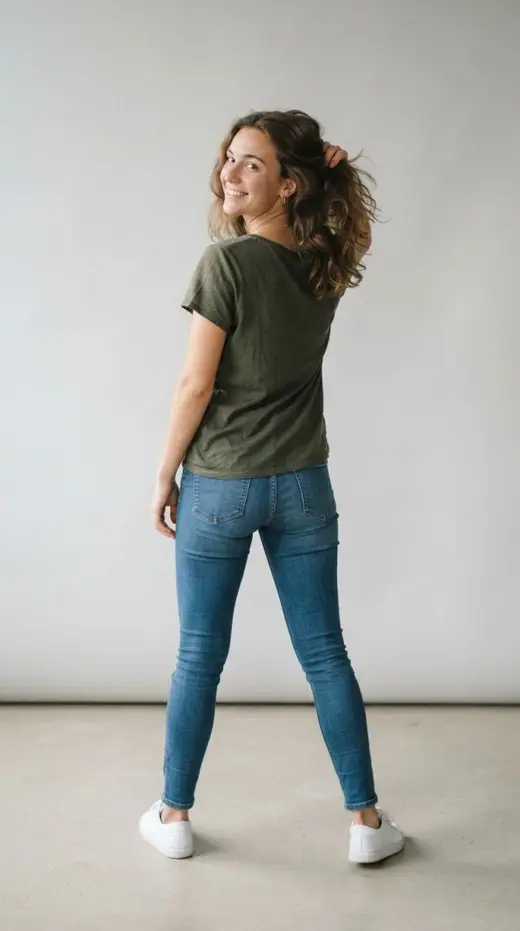
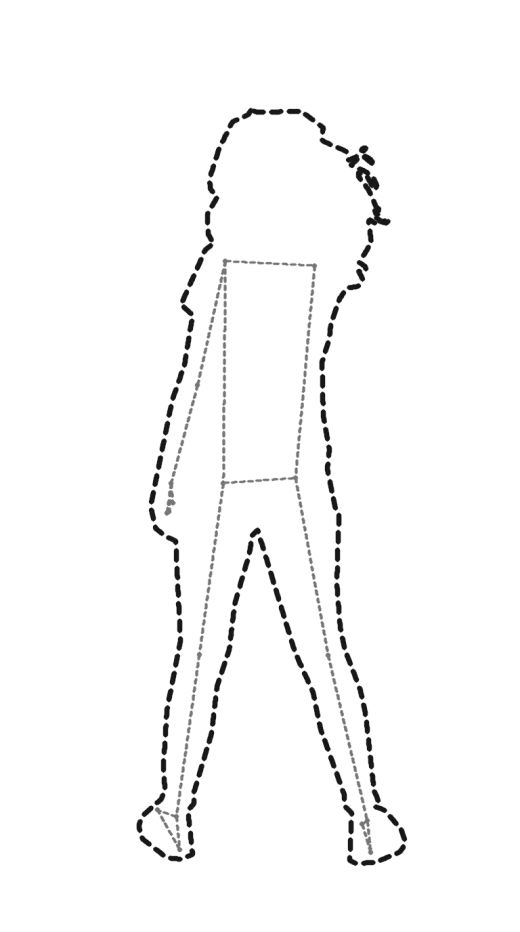
Face the camera square-on and your shoulders form a flat wall, the widest possible version of you. Turn your whole body until your shoulders point halfway between the camera and the side wall. That is 45 degrees, the three-quarter view. It narrows the silhouette, gives the shoulders a near side and a far side, and creates depth from a flat lens.
How to hit it without a protractor: stand square to the camera, then make a quarter turn and come halfway back. Weight goes on the back foot, and the face turns back toward the lens on its own schedule: all the way back for a portrait, partway for a candid look. Almost every "effortless" full-body photo you have saved is this turn.
2. The light at 45: instant shape
Flat front light erases features; hard side light splits the face in two. The classic middle is light arriving from 45 degrees to the side and slightly above eye line. It shades one cheek, puts a small triangle of light under the far eye, and gives the face dimension. Painters used it for centuries before cameras existed.
Outdoors you position the person, not the sun: turn them until the light hits one side of the face at a diagonal, usually with the sun somewhere over your shoulder as the photographer. Near a window, put the subject a step to the side of it rather than facing it straight on. If both cheeks are lit evenly, you are at 0 degrees; keep turning.
3. The camera at 45: height and tilt
For seated subjects, food, flat-lay adjacent scenes, and close portraits, hold the camera above eye line and tilt it down about 45 degrees. It is the natural angle of a person looking at a table, so those shots read as intimate rather than surveilled. For standing full-body shots, skip it: a 45-degree downward tilt shortens legs, which is why group photos from a staircase look off.
The quick check: if the subject is a face or a surface, 45 down flatters; if the subject is a full body, go to chest height and keep the phone vertical. When you want the tilt exact, the camera level from your phone settings holds you honest.
Stack all three
The three 45s are independent dials, and the strongest portraits pull at least two: a three-quarter body turn under 45-degree window light, shot from eye level, is the entire recipe behind most editorial portraits. Set the body angle first, walk the light around second, and choose camera height last.