Guide
How to Take a Good Selfie: Angles, Light, and Arms
The geometry of a good selfie: arm position, lens height, which side of your face, front versus rear camera, 0.5x distortion, and full-body setups.
A selfie is a portrait where the photographer's arm is part of the tripod, so most selfie problems are geometry problems: where the lens sits, where the light comes from, and what the arm is doing. Fix those three and the same face photographs noticeably better.
Hold the lens slightly above eye line
The lens height decides your jawline. A phone held at chest height shoots up into the chin and nostrils; a phone held slightly above your eye line, tilted a few degrees down, defines the jaw and opens the eyes. Slightly is the key word. Raise it too far and you get the shrunken top-down look of an old webcam angle.
Get the arm out of the story
A straight arm aimed at your face reads as a selfie; an arm angled off to the side reads as a photo. Extend the phone up and out at roughly 45 degrees, then turn your face back toward it. If your arm keeps sneaking into frame, switch to the rear camera and press a volume button to shoot. You lose the preview and gain a sharper lens, which brings us to the next point.
Front camera or rear camera
The front camera is convenient and soft; the rear camera is blind and sharp. For a quick check-in selfie the front camera is fine. For a selfie you plan to post, the rear camera wins on detail, low light, and color, and most phones will fire it with a volume button, a timer, or a palm gesture. Practice the framing blind a few times and it stops feeling like a gamble.
Know your side
Faces are not symmetric, and almost everyone photographs better from one side. Find yours once: take the same selfie turned slightly left, then slightly right, and compare. Then stop alternating. Turning your preferred side toward the lens, about a quarter turn, also slims the face compared to shooting it dead-on.
The 0.5x ultrawide: fun, with one rule
The 0.5x selfie look is real: the ultrawide exaggerates whatever is close, which makes group selfies energetic and solo shots playful. The rule is to keep faces away from the edges of the frame, where ultrawide distortion stretches heads sideways. Center the faces, let the background bend instead, and the effect stays flattering.
Light first, angle second
No angle survives bad light. Face a window or the open sky so the light lands on your face, not behind it. A window behind you turns you into a silhouette; overhead noon sun digs eye shadows. The cheapest upgrade in selfie history is a quarter turn toward the nearest window before you raise the phone.
The full-body selfie
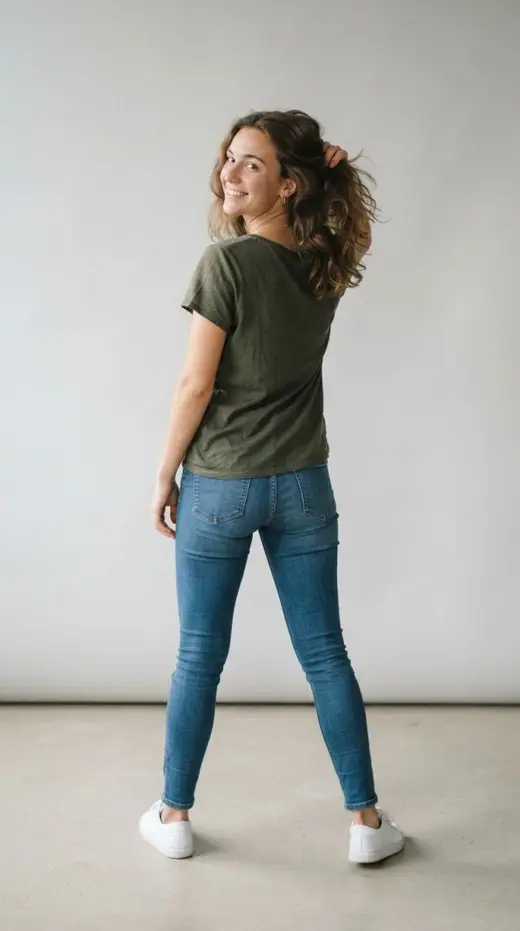
Arms are too short for full-body, so stop using them. Prop the phone against a water bottle or a shelf at hip height, set the 3 or 10 second timer, and step back. For mirror selfies, clean the mirror, hold the phone at chest height covering as little of you as possible, and look at your reflection rather than the screen. A posed full-body selfie is just a posed photo with a patient photographer.